Hanging art at home, one careful step at a time
How high to hang a picture, how to space a group, picture rails versus hooks, fixings for plasterboard, brick and old plaster, and where art should never go.

My house in Melbourne was built in the 1920s and still has its original picture rails, which means I have spent a good part of my life on a step ladder with an S-hook in my teeth. I have also put holes in walls I did not need to, hung things too high out of sheer optimism, and once watched a mirror slide gently down a cord that was older than I am. Most of what follows comes from those mistakes.
Hanging a picture well is not difficult, but it rewards doing things in order. The steps below work for a single small print or a wall of eight frames. Read them through once before you pick up a drill.
Step 1: Decide where the work wants to live
Before thinking about height, think about the room. Walk around with the work (or a sheet of paper the same size) and hold it up in a few places. Notice where you naturally stand and where you sit. A picture in a hallway is seen on the move, from close up. A picture in a living room is often seen from a chair, two or three metres away.
Then rule out the places that will damage it.
- Direct sun. Ultraviolet light fades works on paper, photographs and many paints, and the change is slow enough that you only notice when you take the frame down and see the original colour under the mat. Watch the room for a full day, since a wall that is shaded at nine can be in full sun at four.
- Above a heater, fireplace or air-conditioning outlet. Rapid changes of heat and humidity make canvas slacken and tighten, and paper cockle.
- Bathrooms. Steam is the enemy of paper, mat board and the back of a frame. If you want something in a bathroom, choose a work you will not grieve over, or something sealed and made for damp, such as a glazed tile.
- Right beside a stove or kettle in a kitchen. Grease and steam settle on glass and seep into the backs of frames. A kitchen wall away from the cooking is usually fine for a sturdy framed print.
Photographs and works on paper are the most sensitive of all. If you live with photographic works, such as the staged series discussed in the note on Tamara Dean, give them the dimmest wall you have rather than the brightest.
Step 2: Find the centre height
The common guide, used by many museums and galleries, is to put the centre of the work at about 145 to 150 centimetres from the floor. That is roughly the eye level of an adult of average height, and it has the great advantage of making every picture in a house sit on the same invisible line, which is calmer than you would expect.
Use the lower end of the range if the household is on the shorter side or the room is mostly seen sitting down. Use the upper end in a hallway with tall ceilings. The single most common mistake I see is hanging too high, so if in doubt, go lower.
Two exceptions. Above a sofa or sideboard, the furniture takes over: leave a gap of about 20 to 25 centimetres between the top of the furniture and the bottom of the frame, so the two read as one arrangement. And in a stairwell, follow the angle of the stairs and keep each work at about 145 to 150 centimetres above the step directly beneath it.
Step 3: Measure the hanging point (a worked example)
Knowing where the centre goes is only half the sum. You also need to know where the hook goes, and that depends on how the picture hangs.
Say you have a framed painting 80 centimetres tall, with a wire across the back. Pull the wire up firmly towards the top of the frame, as the hook will, and measure from the top of the wire's peak to the top edge of the frame. Call that 12 centimetres.
- Target centre height: 150 cm.
- Half the frame height: half of 80 is 40 cm, so the top of the frame sits at 150 + 40 = 190 cm.
- The hook sits 12 cm below the top of the frame: 190 minus 12 is 178 cm.
So the hook goes at 178 centimetres. Mark it lightly in pencil. For a frame with two D-rings instead of wire, do the same sum using the distance from the rings to the top edge, and mark two points the same distance apart as the rings, checked with a spirit level.
Step 4: Plan a group on the floor, then on paper
For more than two works, lay them out on the floor first, below the wall they are going on. Move them around until the arrangement looks settled. A few rules of thumb help:
- Keep the gaps between frames even, usually somewhere around 5 to 8 centimetres. Even gaps matter more than even frame sizes.
- Treat the whole group as a single picture and put its centre at the 145 to 150 centimetre line.
- Either align the tops, align the bottoms, or line everything up on a central horizontal. Mixing all three looks accidental.
- Put the heaviest-looking work low and towards the middle.
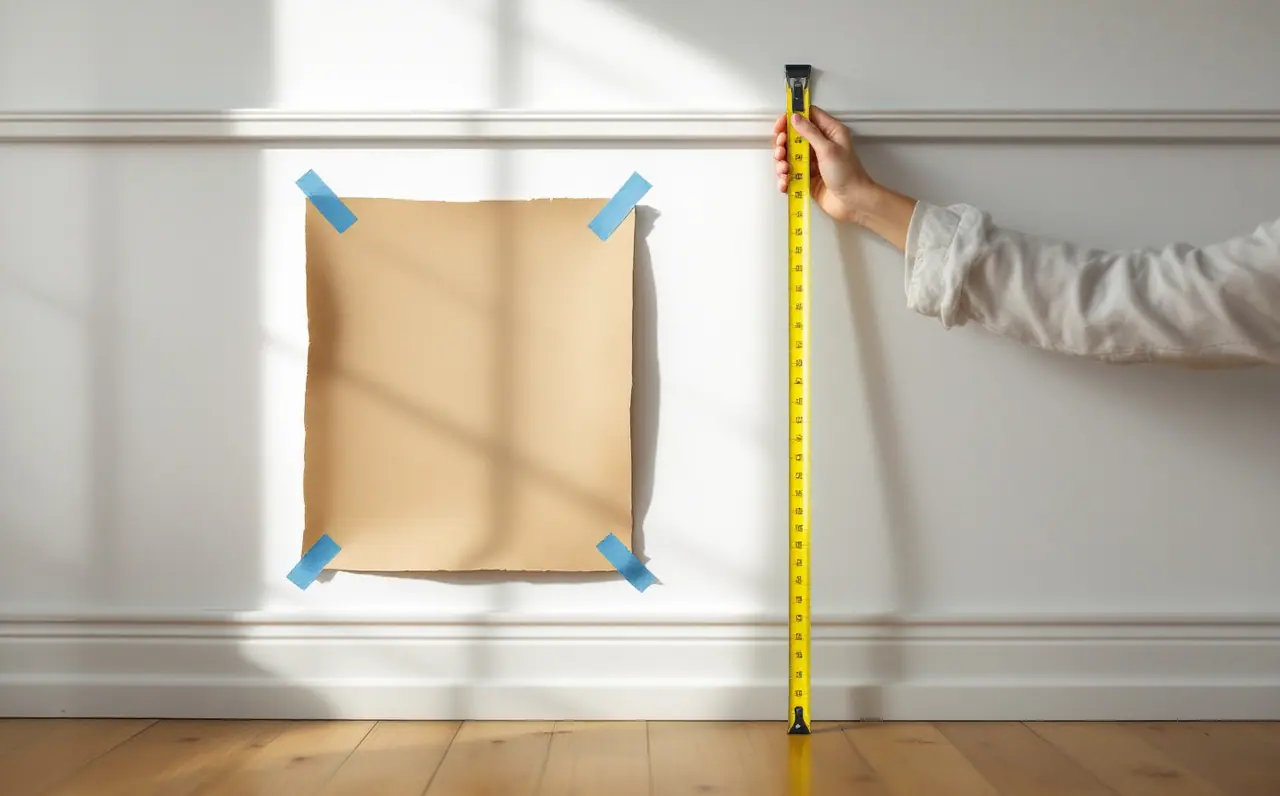
Then trace each frame onto brown paper or old wrapping paper, cut the shapes out, and mark the hanging point on each template. Tape the templates to the wall with painter's tape. Live with them for a day or two. You will move at least one, and moving paper is a great deal easier than patching plaster.
If you want to see how professionals space a wall, look closely next time you visit a show. The guide to visiting Sydney exhibitions is a good starting point, and once you start noticing gaps and centre lines in galleries you will not stop.
Step 5: Know your wall
Here is where the hardware store gets involved. Knock on the wall and look at the house.
Plasterboard
Most houses built in the last fifty years or so have plasterboard over timber or steel studs. For light frames, a picture hook with fine angled pins holds well in plasterboard alone. For anything heavier, either find a stud (a stud finder helps, and studs are commonly at 450 or 600 millimetre centres) and screw into it, or use a plasterboard anchor rated for the weight. Check the rating on the packet against the actual weight of the frame, glass included.
Brick and masonry
Solid brick needs a masonry bit, a wall plug and a screw. Drill into the brick itself rather than the mortar joint, which crumbles. Expect dust, and put a folded envelope taped under the drilling point to catch it.
Lath and plaster
Older houses like mine often have lath and plaster: thin timber strips with plaster pressed over them. It cracks easily and pin hooks can pull straight out of it. Drill slowly, put a piece of tape over the spot first to stop the surface chipping, and aim for a lath or a stud behind. Better still, use the picture rail if you have one.
Step 6: Choose rails, hooks, D-rings or wire
A picture rail is the kindest option for old plaster and for anyone who likes to rearrange. Hang S-hooks or rail hooks over it, with cord, wire or a fine chain down to the picture. You can move a work sideways in seconds and never touch the wall. The cords show, which some people dislike; I have grown fond of them.
On the back of the frame, D-rings screwed into the sides of the frame are steadier than wire. Wire lets a picture tilt and swing, which is fine for small light works but less so for large ones. Two D-rings on two hooks keep a frame level and stop it sliding sideways every time a door slams. Whatever you use, check the screws are in solid timber, not the thin backing board.
Step 7: Take heavy works seriously
Large canvases, framed works with glass and mirrors are heavy enough to cause real damage if they fall. For these, use two fixings, not one. Screw into studs or masonry, never into plasterboard alone. Use hanging hardware rated well above the weight, and weigh the work on the bathroom scales if you are unsure (stand on the scales holding it, then subtract your own weight). Have a second person hold the work while you hang it, and never lean a big frame against a wall with its weight resting on the bottom corners for long.
If a work is truly heavy or valuable to you, a professional picture hanger or a framer is worth calling. There is no shame in it.
Step 8: Step back, then live with it
Once it is up, put a small level on the top edge and adjust. Then stand where you will usually see it and look for a minute or two. Is the light falling across it or reflecting off the glass? Does it feel crowded by the doorway? If glare is a problem, the notes on framing works on paper cover glazing choices that cut reflection.
Give it a week. Pictures look different in morning light, at night under a lamp, and after a few days of walking past them. If it still feels wrong after that, move it. Filling one small hole is a small price for a wall you enjoy every time you come through the door.

Fenella Garrick
Fenella Garrick writes about framing, hanging and looking after art at home, from mat board to picture rails. She lives in Melbourne in a 1920s house with its original picture rails and firm opinions about hooks.
In the same room
Regional galleries worth the drive
Why Australia's regional public galleries reward a road trip, seven well-established ones to plan around, and how to fit a gallery into a weekend away.
Caring for a canvas painting at home
Light, humidity, dust, carrying, slack canvas and storage: the everyday care that keeps an oil or acrylic painting on canvas sound, and what to leave alone.
Framing works on paper so they last
Prints, drawings and watercolours need a different kind of frame from canvases. Mat board, hinges, glazing, spacers and backing, and what to ask your framer.